
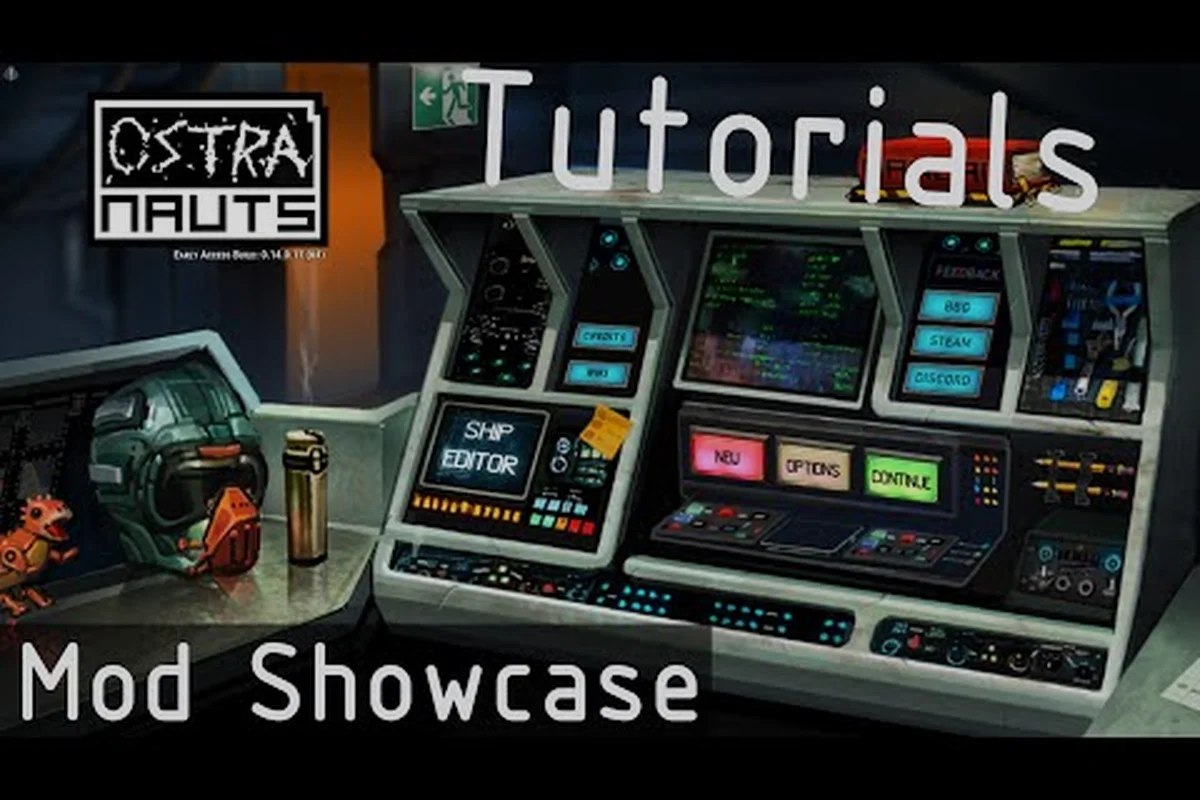
Ostranauts ships with one of the cleanest modding pipelines in the indie space-sim scene, and that means anyone comfortable editing text files can ship a custom mod without touching compiled code. If you want to Ostranauts create a mod, the entire workflow is built around human-readable JSON, CSV, and plain-text data files stored in a dedicated user folder that the game reads on every launch.
This guide walks through the full process, from installing the modding tools to publishing on Steam Workshop, with concrete file paths and JSON examples drawn from the official wiki documentation. By the end, you will have a working mod folder, a verified load order, and a publishable entry that other players can subscribe to with a single click.
Ostranauts Create a Mod: Understanding the Basics
Ostranauts uses a pure text data modding system, which means every mod is just a folder of structured text files that the game treats as a higher-priority layer over the vanilla data. According to the official Ostranauts wiki, this design choice was deliberate because the developer wanted the modding community to be able to tweak items, characters, ships, and even whole economic systems without ever opening a code editor or installing a game-development SDK.
What Counts as a Data Mod
A data mod is any folder that overrides, adds, or extends the JSON, CSV, or text files shipped with the base game. The same file you copy from the game directory can be edited, re-saved, and instantly behave as a new variant in-game because the loader simply walks your mod folder first and uses whatever it finds there. Community reports indicate that more than 90 percent of all published Ostranauts mods are pure data mods, with the remaining fraction being art or audio replacements that follow the same folder structure.
The most common mod categories include:
- New ship parts — engines, hull tiles, internal rooms, cockpits
- Custom items — weapons, tools, consumables, clothing
- Character archetypes — NPC stats, traits, starting inventories
- Lore additions — new dialogue strings, email logs, audio logs
- Economy tweaks — adjusted prices, trade-goods lists, station inventories
- Quality-of-life patches — UI text, sorting rules, hotkey labels
Why Mod Ostranauts in the First Place
Because the underlying simulation is data-driven, a small JSON edit can ripple across crew behavior, trade routes, and salvage encounters. Players report that a single edited CSV can shift the early-game economy and make the first ten hours feel meaningfully different. The game also actively encourages modding through the in-game mod manager, which scans both the local mod folder and the Steam Workshop every time it launches.
Setting Up the Mod Development Environment
Before you Ostranauts create a mod, you need three things on your PC: the base game installed, a text editor that handles JSON cleanly, and a known location for your mod folder. The setup is intentionally lightweight, and you do not need Visual Studio, a C++ compiler, or any engine SDK to get started.
Required Tools
| Tool | Purpose | Recommended Choice |
|---|---|---|
| Text editor | Edit JSON, CSV, and plain-text files | Visual Studio Code, Notepad++ |
| JSON validator | Catch syntax errors before launch | VS Code extension or jsonlint.com |
| Version control | Track changes across mod versions | Git (optional but recommended) |
| Archive tool | Inspect or share mod folders | 7-Zip or Windows built-in ZIP |
| File watcher | Auto-reload when files change | VS Code Live Server or similar |
A text editor with built-in JSON highlighting saves a tremendous amount of time because most beginner bugs come from missing quotes or stray commas. According to the developer, the game itself ships a built-in log that flags the exact file and line number of any parse error, so a second pair of eyes in the form of a linter will shorten the debug cycle dramatically.
Locating the Mod Folder
The game creates a user-specific data directory the first time it launches. The exact path depends on your platform, but the most commonly cited locations in community testing are:
| Platform | Default Mod Folder Path |
|---|---|
| Windows | C:\Users\<USER>\AppData\LocalLow\Blue Bottle Games\Ostranauts\mods |
| Linux | ~/.local/share/Blue Bottle Games/Ostranauts/mods |
| Steam Deck | Same as Linux, under home/user/.local/share |
| macOS | ~/Library/Application Support/Blue Bottle Games/Ostranauts/mods |
According to the Steam store page for Ostranauts, the game is Steam Deck verified, so the Linux path applies natively without any compatibility layer. On Windows, the AppData folder is hidden by default, so you may need to enable "Show hidden files" in File Explorer or paste the path directly into the address bar.
Creating Your First Mod Subfolder
Inside the mods directory, create a new folder with a short, lowercase, dash-separated name such as my-first-mod. This folder name is also the internal mod ID that the game and Steam Workshop will use, so choose it carefully and avoid renaming it after publishing. Inside this folder, you can place any of the supported file types, and the game will treat the deepest file path as the override target.
Ostranauts Create a Mod: Core File Structure
Every mod follows the same principle: the relative path inside your mod folder mirrors the relative path inside the game's data directory. If you want to override a file located at data/items/weapons/plasma_rifle.json in the base game, you place your edited copy at mods/my-first-mod/items/weapons/plasma_rifle.json. This convention means a single mod can override dozens of files just by mirroring the same folder tree.
File Types You Will Encounter
The game uses several file formats, and each one has a clear role. The table below summarizes the most common types and what they control inside the simulation:
| Extension | File Type | Controls | Beginner Friendly? |
|---|---|---|---|
.json | Structured data | Items, ships, characters, dialogue, room definitions | Yes — most common |
.csv | Tabular data | Trade goods, price tables, NPC spawn lists | Yes — easy to edit in Excel |
.txt | Plain text | Email logs, story entries, flavor text | Yes — no syntax rules |
.png | Image | Sprites, UI icons, ship tiles | Moderate — needs pixel art |
.ogg | Audio | Sound effects, voice lines | Moderate — needs audio tools |
.lua | Script (limited) | Trigger conditions, hook callbacks | Advanced — restricted API |
JSON Syntax Cheat Sheet
Because JSON is the dominant format, every beginner modder needs to understand a few rules. Keys and string values must use straight double quotes, every opening brace must have a matching closing brace, and trailing commas are forbidden. The example below shows a simplified item entry based on patterns documented in the community wiki:
{
  "id": "salvage_lantern_v2",
  "displayName": "Salvage Lantern Mk II",
  "description": "A rugged work lamp rated for hard vacuum.",
  "weight": 1.2,
  "value": 340,
  "tags": ["light", "tool", "salvage"]
}
According to community testing on the official wiki, copy-pasting a working JSON file and editing only the fields you understand is the safest way to start. Removing a field almost always breaks the file, but adding new entries to a list such as tags is usually safe and lets the rest of the game discover the new behavior automatically.
Understanding Mod Load Order
When two mods edit the same file, the mod that loads last wins. The game loads mods in alphabetical order by default, but you can override the order through the in-game mod manager. Community-tested best practice is to prefix your mod folder with a number when order matters, for example 01-core-overhaul loading before 10-additional-content. The table below shows a typical load order used by experienced modders:
| Prefix | Mod Name | Purpose |
|---|---|---|
01- | Core Overhaul | Changes base game balance |
02- | Economy Rebalance | Adjusts prices and trade goods |
10- | New Ships | Adds new hulls and parts |
20- | Flavor Items | Cosmetic or lore content |
Step-by-Step Ostranauts Create a Mod Walkthrough
This section walks through a complete, working example so you can see the entire Ostranauts create a mod workflow from a blank folder to a tested in-game item. The goal is to publish a small, self-contained mod that adds a new flavor item to the salvage economy without breaking the rest of the game.
Step-by-Step Procedure
The steps below assume Windows paths, but the same structure applies on Linux and macOS. Each step is small enough to verify before moving on to the next, which is the pattern community tutorials recommend because it isolates failures early.
Step 1 — Create the mod folder. Inside the mods directory, create flavor-mod-starter. Open it in your text editor of choice so you can edit files in place.
Step 2 — Add a mod.json manifest. Every mod should include a manifest file that the game uses to display the mod name, version, and author in the in-game browser. Create flavor-mod-starter/mod.json with the following fields:
{
  "name": "Flavor Mod Starter",
  "version": "0.1.0",
  "author": "YourName",
  "description": "Adds a few flavor items to the salvage economy.",
  "dependencies": []
}
Step 3 — Copy a base-game item as a template. Navigate to the game's data/items folder, pick any small item file such as a snack or a tool, and copy it into flavor-mod-starter/items/. Rename it to salvage_lollipop.json. Mirroring the original folder structure is what tells the game to treat your file as an override.
Step 4 — Edit the copied file. Change the id, displayName, description, and any numeric values such as weight and value. Save the file in UTF-8 encoding without a BOM, because the JSON parser used by the game is strict about byte order.
Step 5 — Launch the game. Open Ostranauts and check the mod manager. Your mod should appear in the list with the name pulled from mod.json. If it does not, check the log file referenced in the troubleshooting section below before assuming the file is broken.
Step 6 — Verify in-game. Spawn the new item through debug commands or find it naturally in a salvage haul, then confirm that the display name, weight, and value match your edited JSON. This step is what closes the loop on the Ostranauts create a mod process and proves the override actually fires.
Writing Your First JSON Entry
The example below is a complete, minimal item entry. Drop it into flavor-mod-starter/items/salvage_lollipop.json and it should appear in your inventory the next time you launch the game with the mod enabled:
{
  "id": "salvage_lollipop",
  "displayName": "Salvage Lollipop",
  "description": "A pre-collapse candy stick, still sealed.",
  "weight": 0.05,
  "value": 4,
  "tags": ["snack", "flavor", "salvage"]
}
The tags array is the easiest place to add new behavior because the game uses tags to drive sorting, pricing, and NPC interactions. Community reports suggest that adding "rare" to a tag list will make NPCs notice the item more often during conversations, which is a useful trick when you want a custom item to feel important rather than disposable.
Common Pitfalls to Avoid
- Invisible character errors — make sure your editor saves as UTF-8 without BOM, or the JSON parser will silently fail without an error message.
- Duplicate IDs — two items with the same
idwill cause one to override the other without warning, which is the single most common cause of "my item disappeared after I added a second one" reports. - Wrong folder depth — if the override does not take effect, check that the relative path inside your mod folder exactly matches the path inside the game's
datadirectory, including any subfolders. - Trailing commas — these are common when copying from tutorials and will break the file on launch, so always validate with a linter before testing.
Testing, Debugging, and Publishing Your Ostranauts Create a Mod
Once your first Ostranauts create a mod attempt loads in the mod manager, the next step is to verify it works under realistic conditions, debug any silent failures, and decide whether to publish through Steam Workshop or distribute the folder manually. The choices you make here determine how discoverable your mod will be and how easy it will be for other players to install it.
Testing Workflow
A simple, repeatable test cycle saves hours. The table below summarizes a reliable workflow that community testers have shared on the official wiki and refined over the last few years of Ostranauts modding:
| Step | Action | Why It Matters |
|---|---|---|
| 1 | Enable only your mod | Isolate the test from other variables |
| 2 | Launch the game | Check the mod manager list |
| 3 | Verify the item appears | Confirm JSON loads cleanly |
| 4 | Check the in-game tooltip | Confirm display fields render |
| 5 | Test in an actual save file | Confirm runtime behavior |
| 6 | Combine with other mods | Find conflicts before publishing |
Debugging Checklist
When something does not work, the game's log file is the first place to look. It is located next to the mods folder and is updated every launch. The most common error patterns, based on community data, are summarized below:
| Symptom | Likely Cause | Fix |
|---|---|---|
| Mod does not appear in manager | Wrong folder name or path | Verify path matches the platform default |
| Item missing in-game | Invalid JSON syntax | Run file through jsonlint.com |
| Item shows vanilla stats | Wrong relative path | Check that the path mirrors data/... |
| Game crashes on launch | Trailing comma or unescaped quote | Validate JSON before launch |
| Other mods break | Duplicate ID collision | Rename your id field |
Publishing to Steam Workshop
Publishing is handled from inside the in-game mod manager. Once your mod is stable, click the publish button, fill in the title, description, visibility, and preview image, and Steam will upload the folder automatically. The mod folder name you chose in step 1 becomes the Workshop ID, so avoid renaming it after your first publish. If you want your mod to appear in the official in-game browser, the developer recommends a clear preview image and a one-paragraph description that names the version of Ostranauts the mod targets.
Distributing Manually
If you prefer not to use Steam Workshop, you can zip the mod folder and share it directly. Players can drop the unzipped folder into their own mods directory and it will appear in their mod manager on the next launch. Manual distribution is common for experimental mods, beta branches, and mods that the author wants to keep outside Steam's moderation pipeline for any reason.
For the related workflow that focuses on getting existing mods onto your machine, see the Ostranauts mod installation guide. For a broader survey of what kinds of mods are possible, the how to mod Ostranauts walkthrough pairs well with this guide. If you are completely new to the game itself, the Ostranauts getting started guide covers the first few hours of gameplay. Once your mod is published, drop a link in the official Discord and watch the subscriber count climb.
Frequently Asked Questions
Do I need to know how to code to Ostranauts create a mod?
No. Ostranauts is built around pure text data files, so you only need a text editor, a JSON validator, and patience. According to the official wiki, the vast majority of published mods are JSON-and-CSV edits made by players with no programming background. The most advanced scripting hooks use a restricted Lua subset, but they are entirely optional and reserved for complex trigger systems.
Where do I put my mod folder so the game can find it?
On Windows, the default location is C:\Users\<USER>\AppData\LocalLow\Blue Bottle Games\Ostranauts\mods. On Linux and Steam Deck, the path is ~/.local/share/Blue Bottle Games/Ostranauts/mods. Create a new subfolder inside mods with a unique lowercase name, and the game will detect it on the next launch automatically.
Can two mods edit the same JSON file at the same time?
Yes, but the mod that loads last will win for any overlapping fields. Community best practice is to give each mod a numeric prefix such as 01- or 10- to control load order, and to use the in-game mod manager to drag and drop mods into the desired sequence. This pattern is the single most reliable way to keep multi-mod setups stable.
How do I publish my mod to Steam Workshop?
Open the in-game mod manager, enable your mod, then click the publish button. Steam will ask for a title, description, visibility setting, and a preview image. After upload, the mod appears on the Workshop page associated with the Ostranauts Steam listing, and other players can subscribe with one click and receive automatic updates.
Why does my mod not show up in the mod manager?
The most common causes are an incorrect folder path, a missing or invalid mod.json manifest, or a JSON syntax error that fails silently. Check the log file in the same directory as the mods folder, and validate every JSON file with a linter before launch. A single unescaped quote or trailing comma is enough to make the game skip the file and leave your mod invisible until the syntax is fixed.